Monday, 28 February 2011

Drone How-to: Texturing

Texturing on Cinema 4D is something that I also learned and executed a bit of.
The textures are controlled by the materials tab at the bottom of the screen. You can either create new materials with which can be edited accordingly by adding textures, adjusting the fog, the reflection, the colour etc, basically being able to adjust the material to your liking to recreate metal, glass, plastic etc.
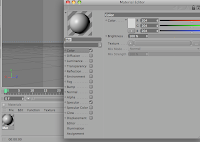
There is also the option to use preset textures from a very extensive list, and these textures can be edited to your liking.
When you have a texture you wish to use, it is then simply dragged over to whatever piece you have selected and it will take stick to that. The textures appear in a lower definition, although when they are rendered, they take a much betterlooking form as the full detail is processed.
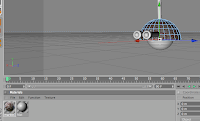
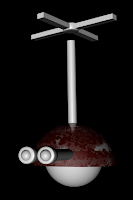
Once the model is modeled and textured, you can then begin to animate....
Drone How-to: Modelling

To begin the process I had to model my actual drone.
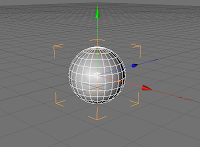
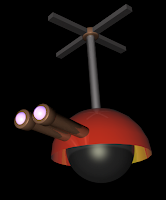
The first step is to create the top part of the body, which I start with one of Cinema4D's primitive shapes: a sphere.

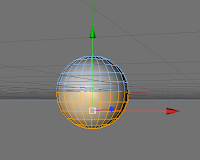
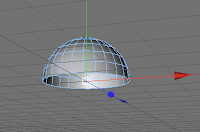
The next step is to delete half the sphere to get a dome shape. I make the object editable with the icon on the left-hand toolbar which makes the wire frame visible, then I use the rectangle selection tool (set to select the faces of my sphere) to select the underside and delete it, making sure to uncheck "only select visible elements" on the selection attributes.
until I am left with an upside down bowl.

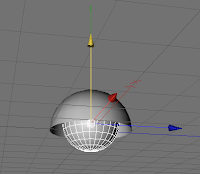
Then another sphere is placed inside of the dome by scaling it down using the sliders on the object attributes, using the XYZ sliders in the centre:
and pulled into position with the green arrow to place it inside the Dome (although this can also be done with the position sliders on the right):

The eyes are two cylinders and a sphere which have been manipulated and moved into a position where they resemble a telescope. For a little cheat, the centre cylinder has the fillet option used on it to make it look smoother, which is found in the cylinder's attributes.
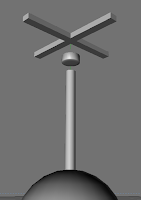
And the Propeller is very similar:
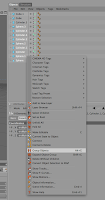
Eventually you end up with two pieces like this which have to be grouped to become just two moveable parts instead of 7 or 10. To group them, you have to select them from the taskbar on the right and right click, this will bring up a dropmenu in which you select group objects, then they will become two combined parts. Yet all the individual elements will be editable.
From there, you begin texturing....

Wednesday, 16 February 2011

Drone 3: With a Vengance

Added a background, basically by adding a plane with a texture of Mt. Fuji (Photo copyright National Geographic)
The way it was added was by creating a plane and turning it on it's side, then creating a texture with the photo background. The rocks were the preset "Landscape" primitive with a preset texture to make a granite colour which reacted with the lights I'd placed around to make shadows, and the water was discovered by accident as I accidently used a glass texture on my floor lighting with a tint of blue which went transparent and revealed rock which I'd put under the stage to make a pool effect, it looks really great and happens to reflect the mountain and the drone.

Drone 2: Drone Harder


Update is that I changed the rotors to be smaller and more even, so they'd animate better.
And now they're 2 pieces as opposed to 4.

In addition, made the movement smoother by placing it on the ground realistically and making it rise up, before taking off into the air!
Looks more realistic(?) but generally more visually appealing.

Drone


Quick update to show some progress on a 3D animation i've been working on of a Spy drone who flies.
Made in Cinema4D, it's the first bit of 3D I've ever done so it's a little bit crap but it has i8t's charms!