The first step is to create the top part of the body, which I start with one of Cinema4D's primitive shapes: a sphere.
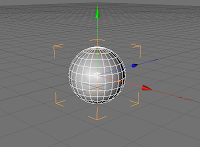
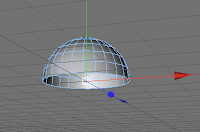
The next step is to delete half the sphere to get a dome shape. I make the object editable with the icon on the left-hand toolbar which makes the wire frame visible, then I use the rectangle selection tool (set to select the faces of my sphere) to select the underside and delete it, making sure to uncheck "only select visible elements" on the selection attributes.
until I am left with an upside down bowl.

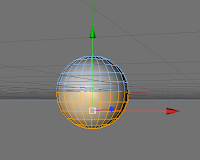
Then another sphere is placed inside of the dome by scaling it down using the sliders on the object attributes, using the XYZ sliders in the centre:

and pulled into position with the green arrow to place it inside the Dome (although this can also be done with the position sliders on the right):
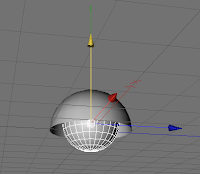
The eyes are two cylinders and a sphere which have been manipulated and moved into a position where they resemble a telescope. For a little cheat, the centre cylinder has the fillet option used on it to make it look smoother, which is found in the cylinder's attributes.

And the Propeller is very similar:
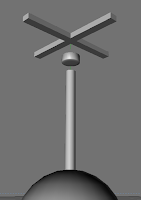
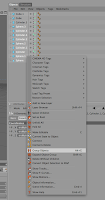
Eventually you end up with two pieces like this which have to be grouped to become just two moveable parts instead of 7 or 10. To group them, you have to select them from the taskbar on the right and right click, this will bring up a dropmenu in which you select group objects, then they will become two combined parts. Yet all the individual elements will be editable.

From there, you begin texturing....

No comments:
Post a Comment